Add a New Contact
Adding contacts can be accomplished from either the Organization Library, or the Contact Library.
Add a New Contact from Organization Library
Adding new contacts from the Organization Library automatically links the contact to the desired record. Refer to the instructions in the Organization Library of this Help File on how to Search Organizations to which your new contact should belong. Once you have located the Organization, click the "Add New" button just above the Contact Section of the Organization Record (lower right corner of the screen as shown below).
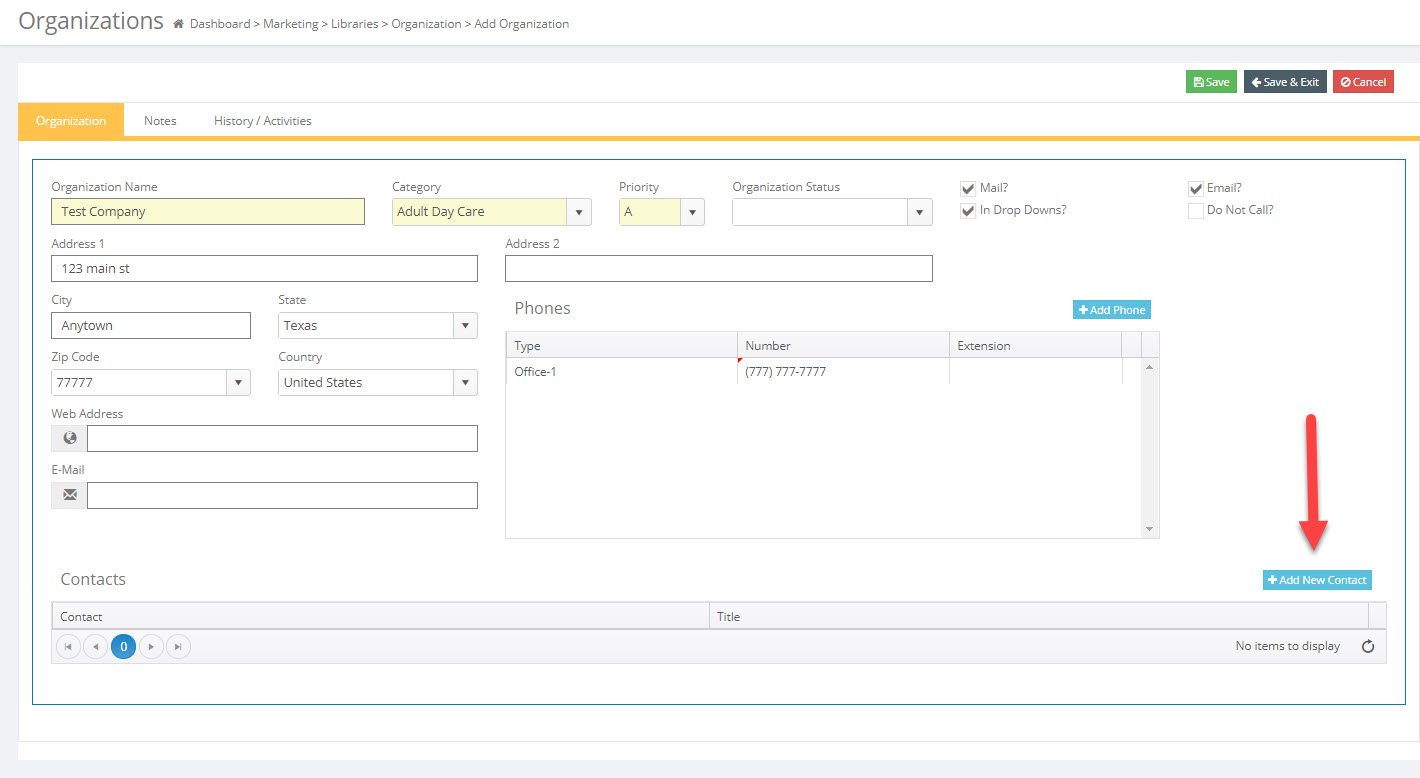
This opens a new, blank contact form. Complete the information as described in the next section.
Add a New Contact from Contact Library
* Select Main Menu > Marketing > Libraries > Contact.
* Click on the Add button in the top right corner of the screen.
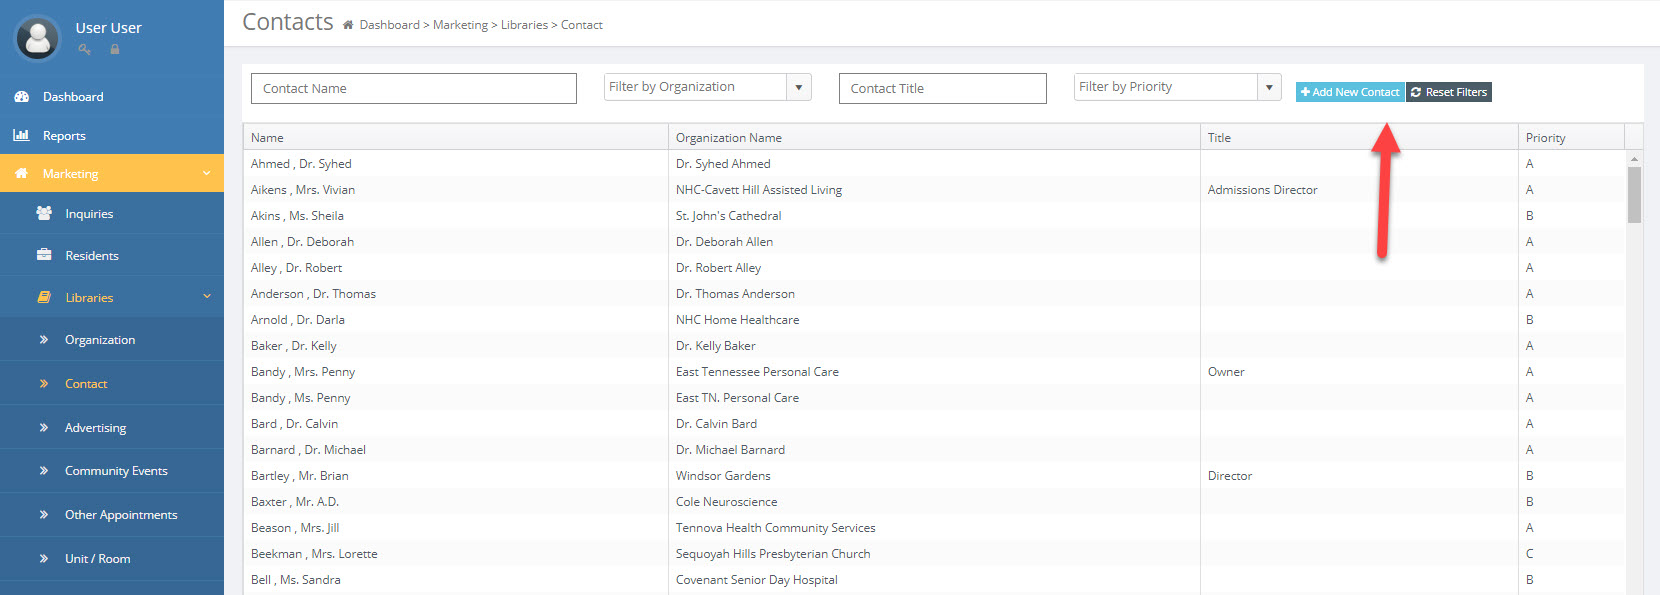
A blank Contact form is displayed.
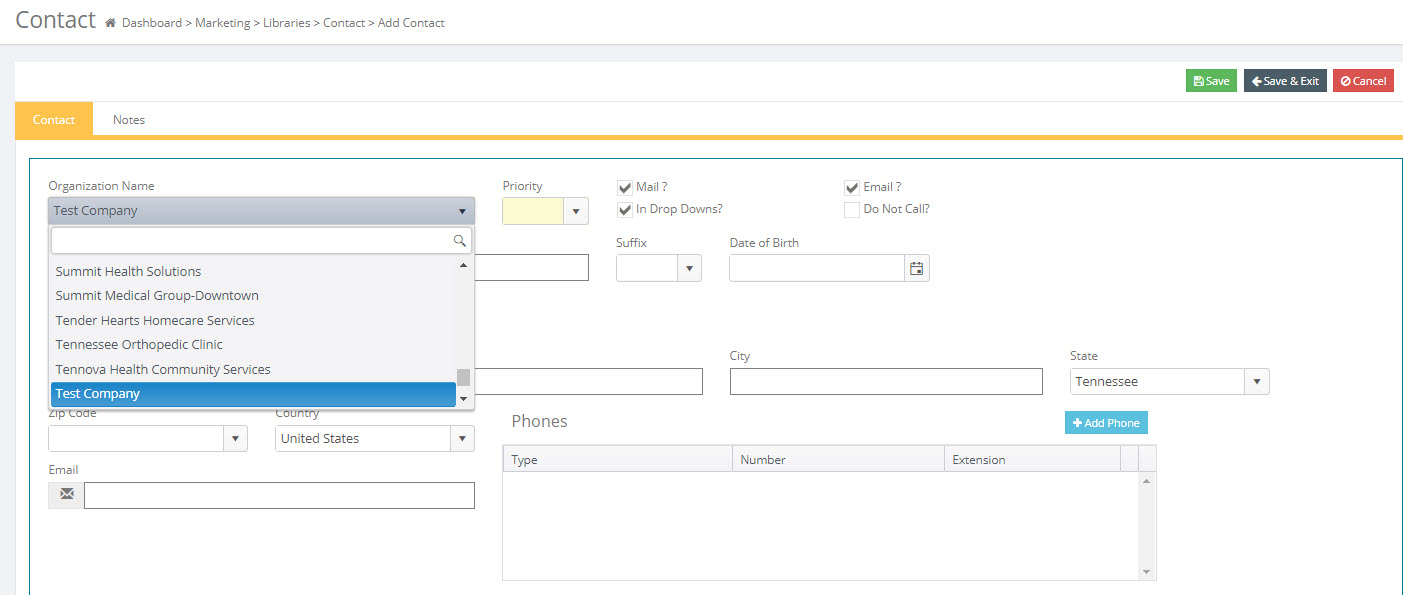
* Click on the drop-down arrow to the right of Organization and select the Organization of the contact person to be added. (Remember, every Contact must be linked to an Organization). Use the Tab key on your keyboard to easily move to the next field.
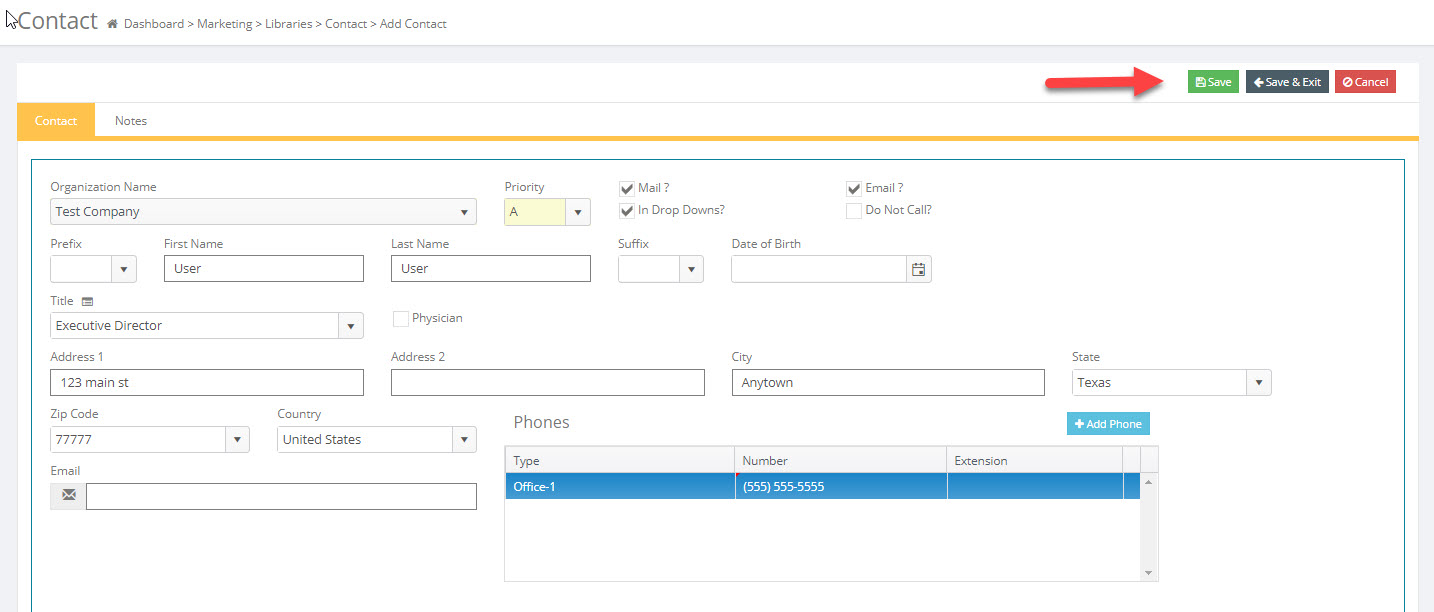
* Enter the contact person's Priority level: A, B, or C (A = high; B = medium; C = low). This priority field is unique to this contact. The priority for the contact does not necessarily match the Organization's priority. The advantage of Priority fields is that Mail Merges may be filtered by Priority. Use the Tab key on your keyboard to easily move to the next field.
* Enter the contact's prefix, first and last name, suffix and title.
* Enter the contact's Address information, if necessary. Note that as you enter the Contact information, the address of the Organization will be copied to the Contact's address fields. These may be overwritten as needed.
* Enter the contact's E-Mail address. A valid e-mail address must be entered in this field in order to utilize the e-mail link function of Move-N.
* Enter the contact's Date of Birth, if known. Even if only the month is known, it can be entered with some default date/year. This will cause the Contact's name to appear on Monthly Birthday reports that may be generated by Move-N.
* Enter the contact's Title, if desired.
* Mail? A check in this box will include this record in any Mail Merge selections that include this particular type of record. Unchecking this box would remove the record from any potential mail merges. An unchecked box is the equivalent of removing this record from our mailing lists.
* In Drop Downs? This check box sets whether this particular record should be shown in the applicable drop down lists, such as "How Learn Center" in the Inquiry Information screen. An example of when to uncheck this box might be if the particular organization has closed. You may not want to "delete" the record because you do not want to lose the history related to this organization, but you want the organization removed from the pick lists.
* Do Not Call? This check box will cause this Contact to appear on the Do Not Call report. There will also be an indication on the Mail merge preview screen that this contact is on the Do Not Call list.
* If the contact is a physician, check the "Physician" box. Additional information includes the specialty and whether or not the physician is credentialed in your state.
Note: A physician in private practice, not belonging to some other organization, may be entered using his/her full name as an organization in the Physician category, then as a contact under that organization.
* Enter the phone numbers. The contact's main phone number Type must be "Office-1," and it must be listed first. Additional phone number Types may be created and listed below Office-1. If the main number Type is not "Office-1", the number will not show elsewhere in the program (with referral, location, insurance and medical professional services information).
* Enter any contact notes in the notes section. Clicking the Date/Time button will insert the current date, time and logged in Employee ID into the notes field. These can be printed, expanded and date stamped as desired.
* Click the Save button to stay on the page and click Save & Exit to save the record and return to the Contact list.
For detailed information on these functions click the links below to go to that subject.
Searching for an Existing Contact