Create Images with Text overlay
Creating an Image with Text Overlay
This method is used in several of our Sample Templates and it might be you want to change the background picture by uploading a new picture to the Row, and editing the text. To create a new Template with Image and text overlay, follow the steps below.
Whether you are creating a template with a background picture for the whole email, or if you want a smaller picture with text written over it, you must use the Upload Image under the ROW Properties. This is because you want to add the Content of Text on top of the picture. For Background Images, see Create Background Images. For smalller pictures, follow the steps below.
1. From the Template Listing Screen, select the green “New Email Template”. Name your template and give it a Subject.
2. Select your Body Background Color, Font, and Content Width.

- Click Blocks and Click on the Single Block and drag to the top Center of your Template. If you want the picture to the right or left choose a Double Block option.

- On the Right Tool Bar, scroll down to Row Properties and you will see an option to Upload an Image. Be sure this is the ROW Properties and not CONTENT!

Upload Image
1. Click on the blue Upload Image as shown above.
2. Locate your desired image in your files and click and drag it to the box shown above, or just Open it and it will load.

3. Click on the Apply Effects and Select “Resize”.

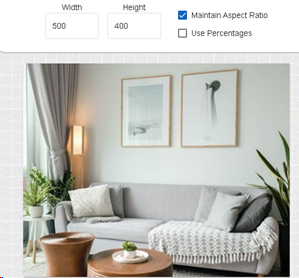
- Change the width (keep the Maintain Aspect Ratio) checked. Click Apply. You may have to experiment a little before you get the right size.
- Adjust the padding options to see how it affects your picture if needed.
- Once your picture is the right size in your Row, select the Text Button in the CONTENT options and drag it to the “Add Content” on top of your picture.
- You then add your editable text! You can change fonts, colors and size!
