Create Template with Text
Create a Template with Text & Logo
Important! Before starting your Template, save a file of your company logo to your computer!
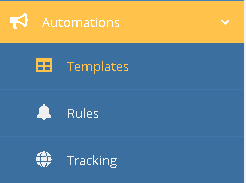
- From the left tool bar, select Templates.
- From the Template Listing page, select the green button :
![]()
- This loads an empty Email Template.
- Name your Template and what the Email Subject Line is to be. You may use the Merge Fields Tab to customize the email subject line.

- From the far-right tool bar, Select the
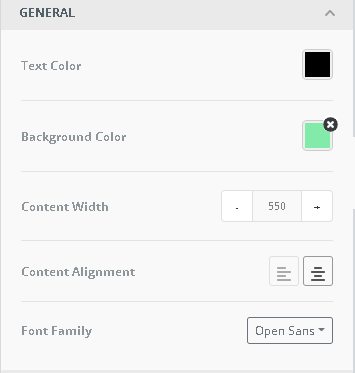
 icon. This opens all your foundational Body criteria for this Template. Under GENERAL:
- Select Body Background Color
- Content Width – determines how wide your pictures and text will be across your page. Tip: 550 works well.
- Select Content Alignment – Do you want your Text Left Justified or Centered?
- Select the Font Family you want to see through out your template. This saves a lot of editing later. However, text style can be changed in the individual Content Text boxes if desired. See Screenshot below.
e. Under Email Settings:
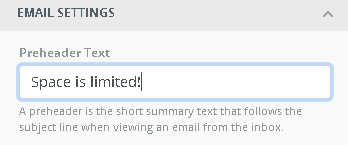
It is optional to create a Preheader Text- A short summary text that follows the subject line when viewing an email from the inbox.
f. Under Links:
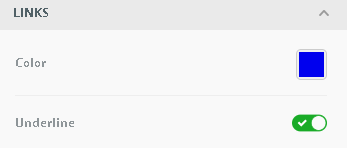
Color: If you are including an email link or website, choose a color that will contrast with the background Color it is sitting on.
Underline: Choose if the Links are to be underlined.
NOTE: ALL these choices can be changed at any point if desired!
Your Body criteria has been set! Next on the right tool bar click![]() icon for Blocks. This opens all your Blocking choices for your Template layout. For this Template, the Logo is going to be at the top Center. This requires the 1 Block choice which is already pre-loaded on the empty Template.
icon for Blocks. This opens all your Blocking choices for your Template layout. For this Template, the Logo is going to be at the top Center. This requires the 1 Block choice which is already pre-loaded on the empty Template.
SAVE!
ADDING YOUR LOGO
1.Click on the empty blue block and a blue content button will appear.

2.To load your community logo click on the Add Content button.
3.The Content Options appear to the right. Find the Image Button ![]()
4.Click and Drag the Image Button over to the blue Add Content on your template and drop.
5.The Image Icon fills the size of the Content Block.

6.Click on the newly loaded Image Button and the Image Criteria will open to the right
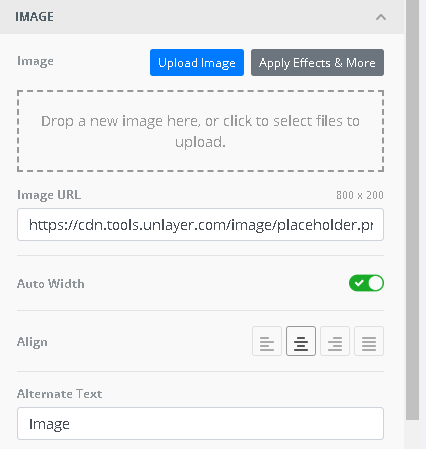
- To Upload your Logo, click the blue Upload Image button.
- Locate your community logo file on your computer, select it, and either drag and drop with your mouse or click Open and it will upload your logo image to your template.

- Once your logo is loaded, you may need to adjust the size.
- Click on the Auto Width option and slide the blue slider left or right to adjust the size of your logo easily and quickly.
- Click on the Auto Width option and slide the blue slider left or right to adjust the size of your logo easily and quickly.

Your Logo is added. The Body background is solid and the logo sits on top of it.
ADDING YOUR TEXT
- Exit your Image Content by clicking the X at the top right.
![]()
2. Click on the Blocks icon to the far right to select another single block.
3. Click and Drag the Single Block option to the center of your template. The system will tell you where to drop it.
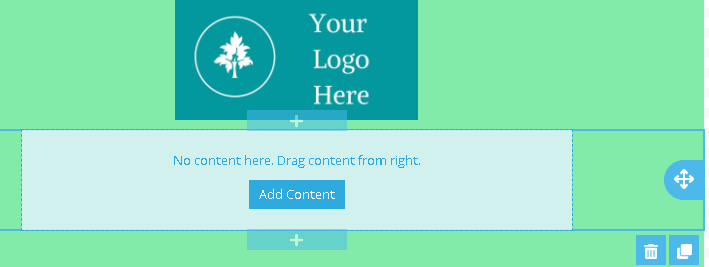
4.Click on the blue Add Content button on your new block – this opens the Content Options back up.
5.Select the Text Button ![]()
6.Click and Drag over to your blue Add Content button on your template and drop.

7.Click on the Text block and all your texting tools- including Merge Field options pop up for easy use.

8. Size, format and type your desired main body of your message here.
9.Once you have completed your message with any Merge Fields, click the Preview icon at the bottom left to see links and merge fields activate. SAVE!


Creating your Closing Information
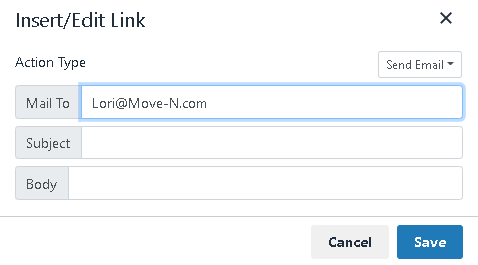
To create a simple closing, click on your Text box and add your closing salutation, name and title. To Add email links and website do as follows:
- Type your correct email address and then highlight it.
- Click the Link Icon in your Text tools

- This will open the link criteria to be added
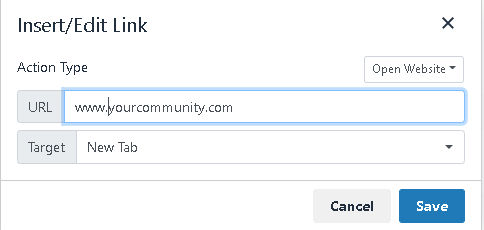
- For a website, choose the Open Website option
- For a phone number choose the Call Phone Number option
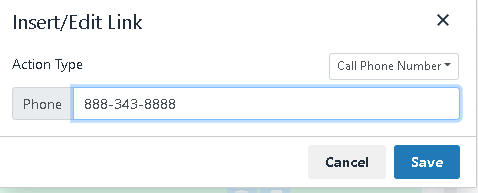
All the links will be activated in the template.
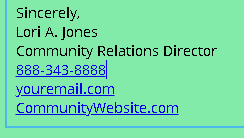
- Once again, click on the Preview Icon to see the activated links and merge fields.


EDIT:
1. Check for correct spacing of Merge Fields,
2. Edit Spelling, missed words
3. Test your links for function
4. SAVE!
5. SEND TEST EMAIL