Image

Add images to enhance the overall look of the template.

- Click and drag the image button into the desired area on the canvas to view the image customization options
- Image Customization:
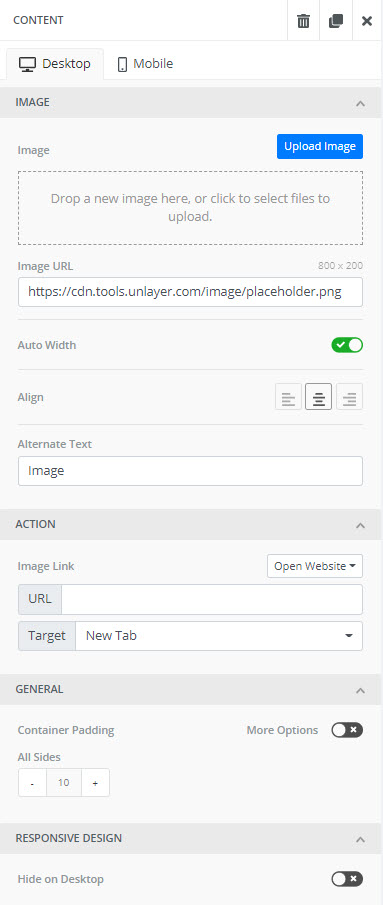
- Image: Add the image by dragging and dropping into the image box or by clicking the Upload Image button. Adjust the alignment and add option alternate text.
- Image URL: This is populated when the image is uploaded.
- Auto Width: To change the size of the image, uncheck the green slider and slide the blue bar line until the image is the desired size.
- Align: Align the image to right, center or left justified.
ο Alternate Text: Type any description, direction, or text into this field and when the curser rests over the image in the email, the text will appear.
- Action: Allows the image to become interactive and take the recipent to a website, send an email or call a phone number.
- General: Adjusts the size of the container that the image is in. (Note: clicking the More Options slider will allow for further customization).
- Responsive design: Used when designing different layouts for desktop and mobile viewing. Allows you to hide the Image from either desktop or mobile viewing.

Image Customization
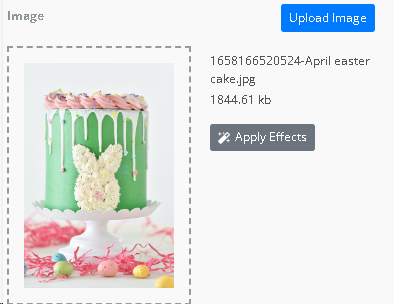
Once the selected image is uploaded to your template, it appears in the Image box with the option to Apply Effects.

Apply Effects
When Apply Effects is clicked, the image appears on a canvas with navigation and customization options.
At the top right corner: History, Cancel, and Save display.

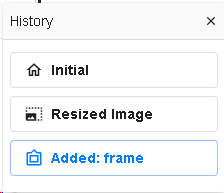
History: Click on history to view each edit made. You can view the image at each previous edit, and have the option to Save it as your working image. This prevents having to start from scratch if you change your mind.

Cancel: Takes you back to the Image in the Template without Saving.
Save: Makes any changes/edits made permanent and takes you back to the image in the Template with the edits updated.
At the botton of the canvas, 10 customization options listed below.

Filter: Opens up color filters to apply to the image: Experiment with the filters. Save the option if desired.

Resize: The size of the image Width and Height can be adjusted. When in Locked Mode the Width and Height will adjust simultaneously. When the Lock symbol is clicked to Unlocked position, the Width and Height can be adjusted independently.


Crop: Unwanted parts of the image can be cropped. Presized options are available or a Custom crop can be used. Click Apply or Cancel.

Draw: Gives the option to draw on the image. Brush color, Brush Type and Brush Size can be chosen. Click Apply or Cancel.

Text: Gives the option to add text onto the image. Font, Color, Background, Opacity, Outline, and Shadow can all be applied to the text.

Shapes: Gives the option to add shapes to the image. Color, Gradient, and Texture can be added to the shape. The shape can be moved and resized on the image. Click Apply or Cancel.

Stickers: Gives the option to add Emoticons, Doodles, Landmarks, Bubbles, Transportation and Beach themed stickers to the image. The sticker can be moved and resized on the image. Click Apply or Cancel.

Frames: Gives the option to create a custom frame around the image. Click on the frame option and further customize with color options or width.

Corners: Gives the option to round the corners of the image by sliding the tool bar left or right.

Merge: When Text, Stickers, and Drawings are added on top of the image, they can be moved and edited. When the Merge feature is clicked, all added items on the image become fixed to the image and can no longer be moved or edited. Simply click to Merge all added items to the image. Note: Once the Image is Saved all added Stickers, Text, Frames, etc. will become permanent.
