Navigation
NAVIGATING THE TEMPLATE
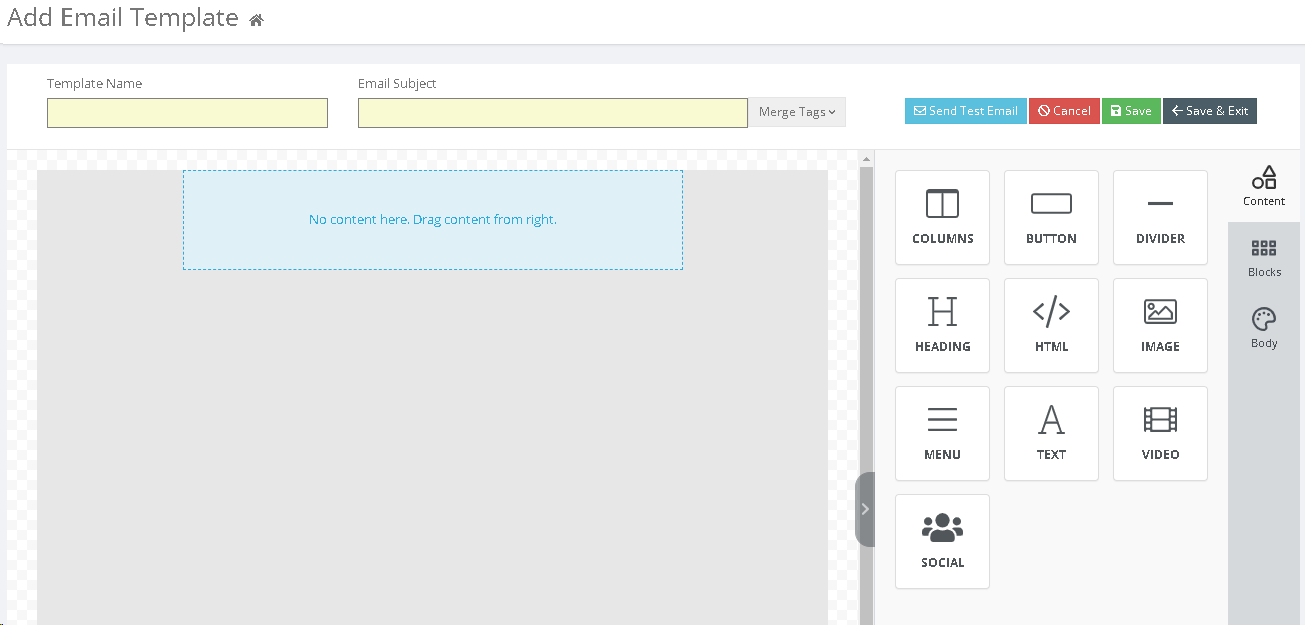
This is an overview on how to navigate between the three layers of a Template - Body, Blocks, and Contents. The focus is on navigating, the click/drag options, and editing within the Content Options.

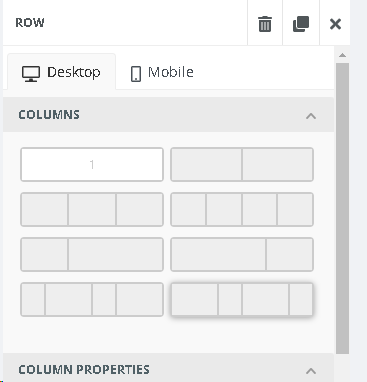
Columns:The first Content Buttom is Column. It has 8 choices located on the right side bar (shown below) once you click the Column Button. The sizes of the sections can be adjusted in width. Those columns can also be copied and moved. A tab “Drag Here” pops up to give you your options.


Above is a Row with a 2 Column Block added to it. The + signs at the top and bottom indicate where you can add a Row. You can now add Content from the options on the right.
Delete the Row – The Trash Can icon is located on the Template and to the top right.
Duplicate the Row – The Duplicate Icon located on the Template and to the bottom right of the row.
Move the Row – The 4- way arrow sign.
Add Content – Click on the Blue Add Content Button to open the Content Options on the right tool bar. Click and Drag your Content choice to the selected Column.
Change the Column Width: Each interior divider for each column can be adjusted to the right or left.
Change your view on Desktop and Mobile. By clicking on either the Desktop or Mobile icon, you can see the formatting of your Template for either device.
Located at the Bottom Left is the Undo, Preview, Desktop, and Mobile View Tools
The Preview Eye Icon enables you to see the finished product and test any links or videos. This is very helpful is checking alignment, formatting, etc. The preview can be seen in Desktop, IPad, or Mobile Phone view.


Exit a level.
- To exit Content to get to a Row or Block, click the X in the top right corner of your screen, In this way you may easily go back and forth between levels.
- Every Row and Content on your Template can be clicked on to trigger the correct criteria to pop up on the right for your use.
Below is an example of Text Content that was clicked upon. All the text options will appear above the text box and to the right. If it was an Image Content, the Image criteria and Upload Image options would pop up to the right. This is pop up feature is true for every Content option.

Below are the Text Options from the right tool bar.

If a verbal explanation is better for you, dont hesistat to call the Help Desk or schedule a Training with our Training Consultant. (817) 282-7300