Statement Setup Tab
The Statements Setup tab allows modifications to various statement settings such as Statement Logo, Assessment Fee description, and Advance Allocation Setup.
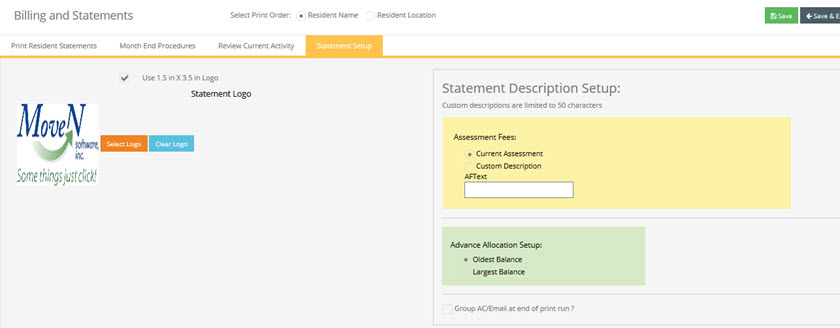
Statement Logo: You have the option to print statements on your community letterhead or blank paper. If you choose blank paper, you have the option of adding your community or corporate logo on the resident statements by adding the logo to the Move-N program. You can select the Use 1.5in x 3.5in. Logo if your logo is wider than it is taller.
NOTE: For best results, the logo file should be saved as a JPEG, ICO or BMP file format.
Selecting the Logo:
- Select the Statement Setup Tab of the Statements screen.
- Click on the Select Logo button.
- Browse your computer to locate the logo file and Double-Click on the file.
- To erase an existing logo, Select the Clear Logo button.
Statement Description Setup: The description of the Assessment Fee charge that appears on a resident statement will read "Current Assessment" by default. If you wish to change that, select the radio button next to "Custom" and enter the description in the field. You can also modify this description field in the Accounting Preferences.
Advance Allocation Setup: When posting Advanced Payments (see the Advance Payments section of the Payments Chapter in this document) the General Category may be used to allocate a payment without having to break the payment down to different categories manually. This setting defines how monies in the Advance Payment are allocated. Click either the "Oldest Balance" or "Largest Balance" to define how the program allocates Advance Payments.
Additional Statement Setup options are available under the Community Setup section of the help file.