Mobile Inquiries
To start the Inquiries, tap the Navicon  and then select Inquiries from the Menu. The main inquiries screen has the ability to search for an inquiry, start a new inquiry, and browse a list of current Hot, Warm, Cold, Waitlist, and Reserved inquiries.

Inquiry List
The inquiry list will display all current Hot, Warm, Cold, Waitlist, and Reserved inquiries. It may be necessary to scroll down to see the complete list. Swipe up or down to scroll the list. To refresh the list swipe down, hold, and release.
Inquiry Search
To search for a specific inquiry tap the search magnifying glass  from the top right of the Inquiry screen.
The search text bar will display along with your device keyboard.
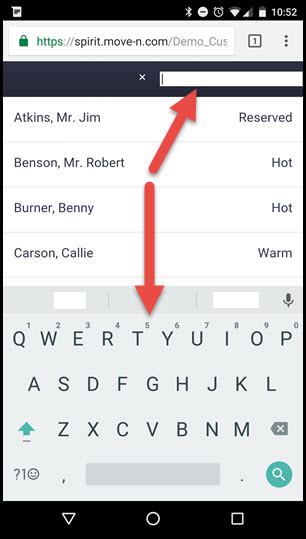
Type the name of the inquirer. As you type the list of inquiries will narrow down automatically to display the search target. Tap the name of the inquiry to display.
Accessing an Inquiry Information
To access an inquiry simply tap the Inquiry Name to enter the record.
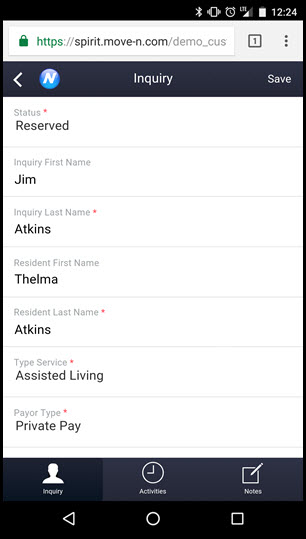
You can swipe up or down to see more fields. To change the information in the fields simply tap the field to either enter data or select a new pull down menu. Required fields are denoted by a red asterisk. ( * ) These fields must be filled in before exiting the screen.
To save any changes you have made tap the  button.
Activities
To view or add an Activity from within the Inquiry tap the  button. The Activities screen will display, from this screen you can review the current activities or add a new one.
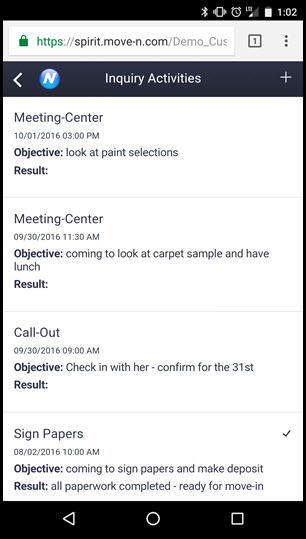
Activities with a check mark to the right have been completed. To view or edit an existing activity simply tap the activity.
Adding a New Activity
To add a new Activity tap the  add activity button. A new Activity screen will display.
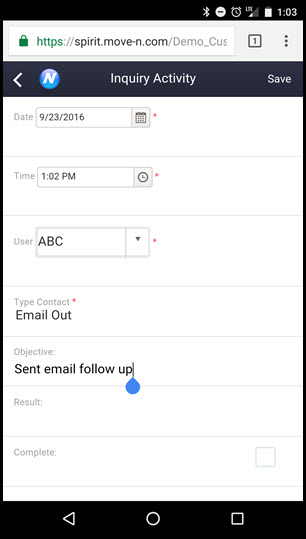
Fill out all fields that have the red * , enter an objective or result, and if complete tap the complete check box. The tap the  button to save the new Activity.
Inquiry Notes
To read or add new Inquiry notes tap the  button. The notes screen will display with any existing notes displayed.
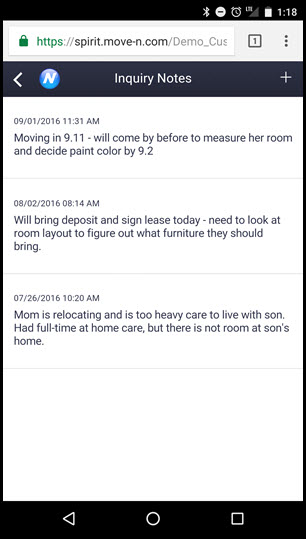
Tapping the individual notes will allow you to view the date/time entered along with the employee who entered the note. If any changes are needed tap the  button.
Adding Notes
To add a new note tap the  button to enter the new note screen. The new note screen will display.
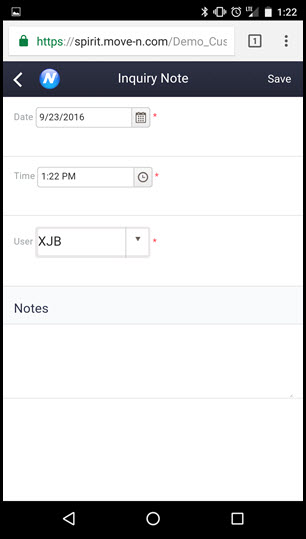
Enter the new note making sure all of the red * fields are filled out. Once you have completed the note tap the  button.