Create Template Step by step
Create a Template from Scratch Step by Step
Best Practice: Pre-block out your layout on paper
The Pre- Design:
Logo Center- 1 block
Divider Line- 1 block
Text message -1block
Signature/social -2 blocks
Action Button – 1 block
- Click the Create New Template Template Library.
- Name your Template and Subject Line (Recipient will see Subject Line)
- Far right Click Body and changed background to white
- Far right, Click Blocks
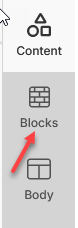
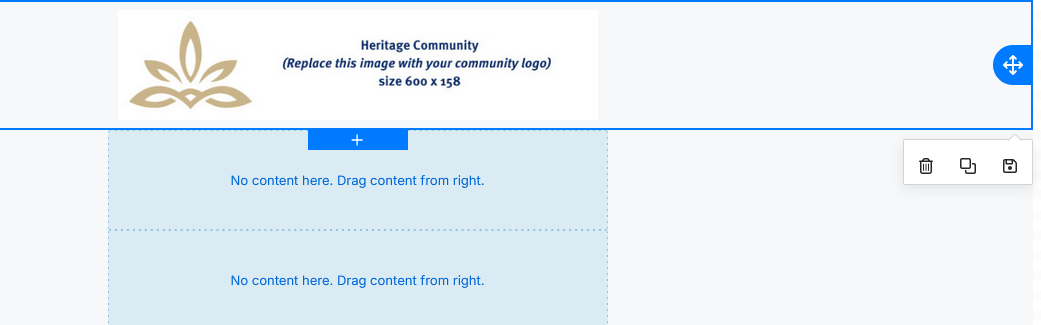
- For Logo at the top, Click and Drag single Column/Block to the center of canvas
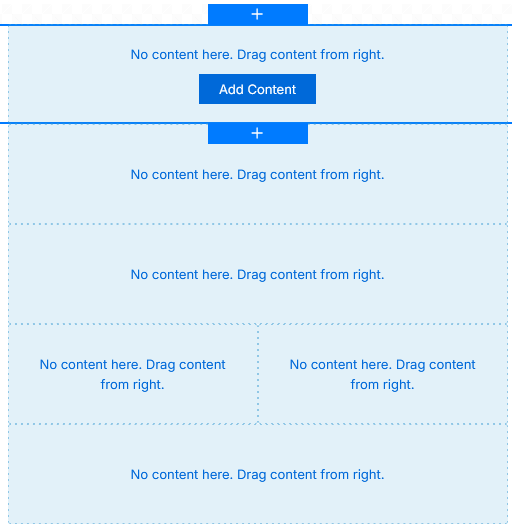
Based on your predesigned pattern, choose the blocks that you need for your template structure.
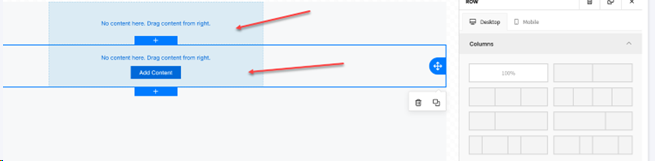
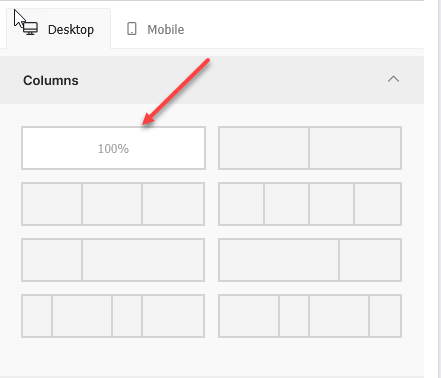
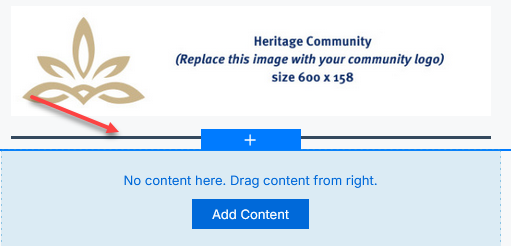
4.To add the next row click the blue + sign below the above block on canvas.
When that new row is highlighted in blue, click the Column option as shown to the right.
Based on the pre-design, here is the finished column/block layout
Phase 2: ADD Content to the Columns or Blocks
1.Click Content options on the far right of your screen
2. Click on first row on your canvas to highlight it.
3. From Contents, Click and Drag – Community Logo
4. Use the Slide bar located to the right of the canvas to adjust size.
5. Select Center Alignment to center Logo
- Highlight second row by clicking on it
- From Contents, click and drag – Divider into second row.
- Use the weight and color criteria to create color and weight to the divider
- Highlight third row by clicking on it
- From Contents, click and drag – TEXT to the third row.
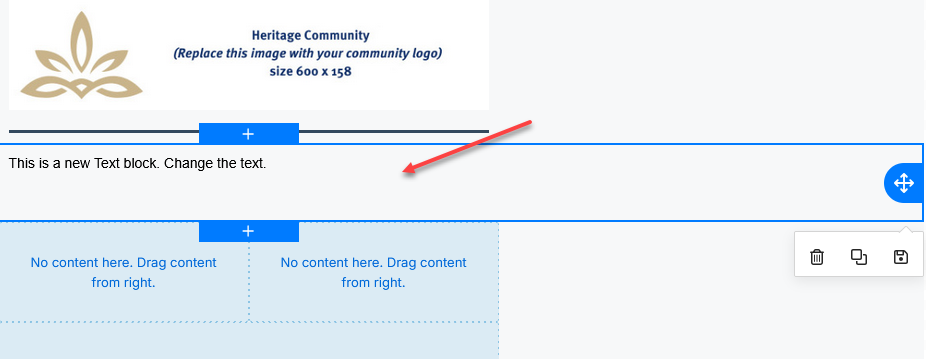
This is your text box where your message will go.
- Highlight the fourth row which is a two column block.
- Click on the LEFT column
- From Contents, click and drag – Social option into the left column.
- The Social icons will appear. Click on them to highlight
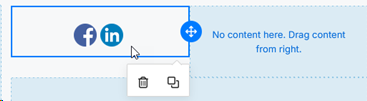
- From the social criteria, click Select Marketer.
- Select Marketer 1,2,or 3 (usually #1)
- This will pull in the Marketer’s signature from their employee profile.

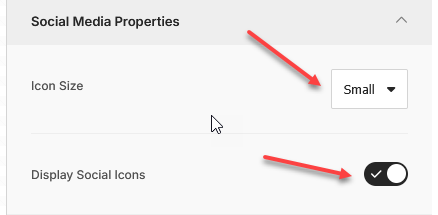
- You can choose not to display the social media by unchecking the Display Social Media or adjust the icon size.
- Highlight the fifth row by clicking on it. This is our Action Button
- From Contents, click and drag – Button option into the fifth column.
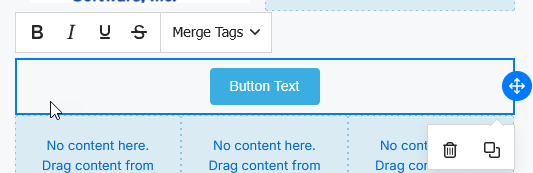
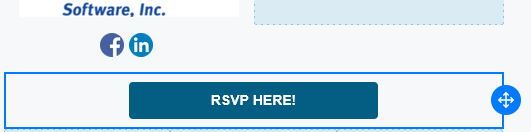
This button can be used to create an easy click to a web address, email, or phone number.
The text can be edited and the color and size of the button can be edited using the button criteria to the right.
Phase 3:
Add your message and any merge tags to the text body.
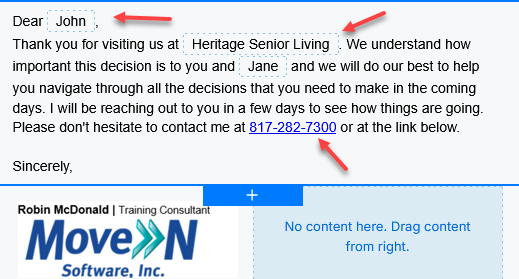
There are two Merge Tags and one hyperlink in the text above.